Peanut Butter Blossom Cookies
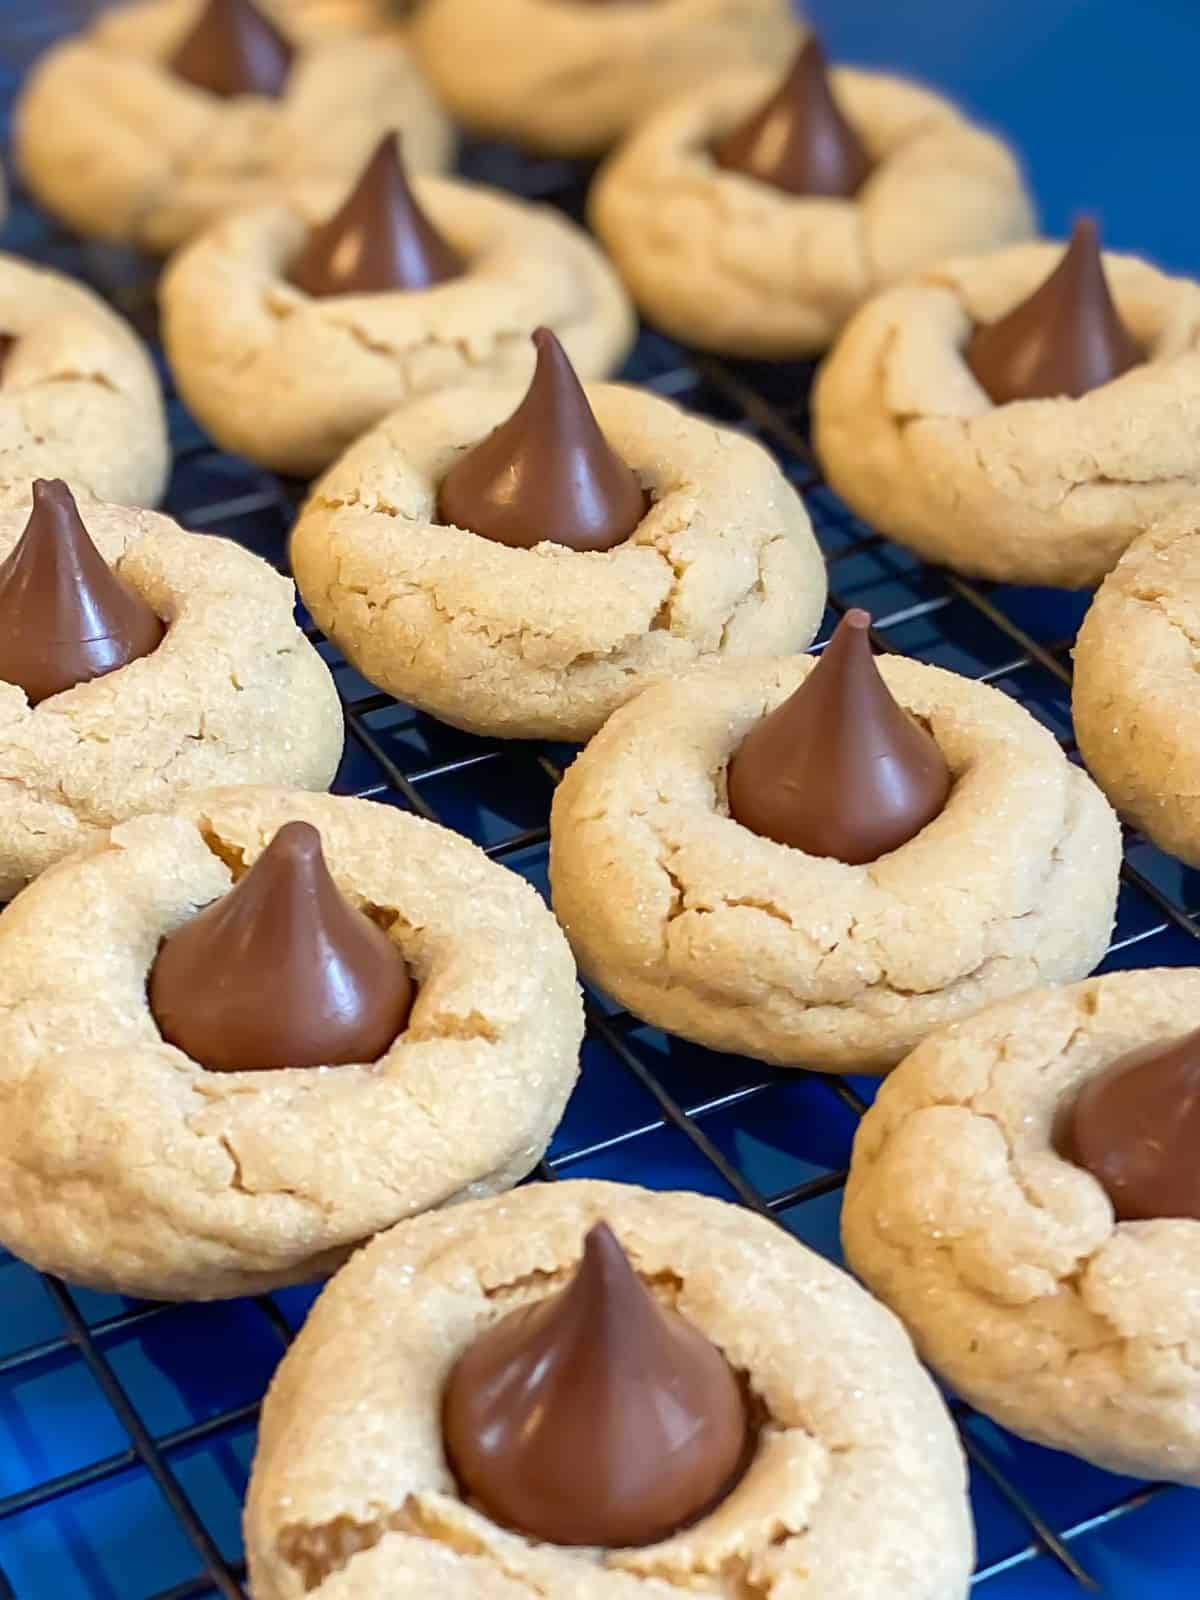
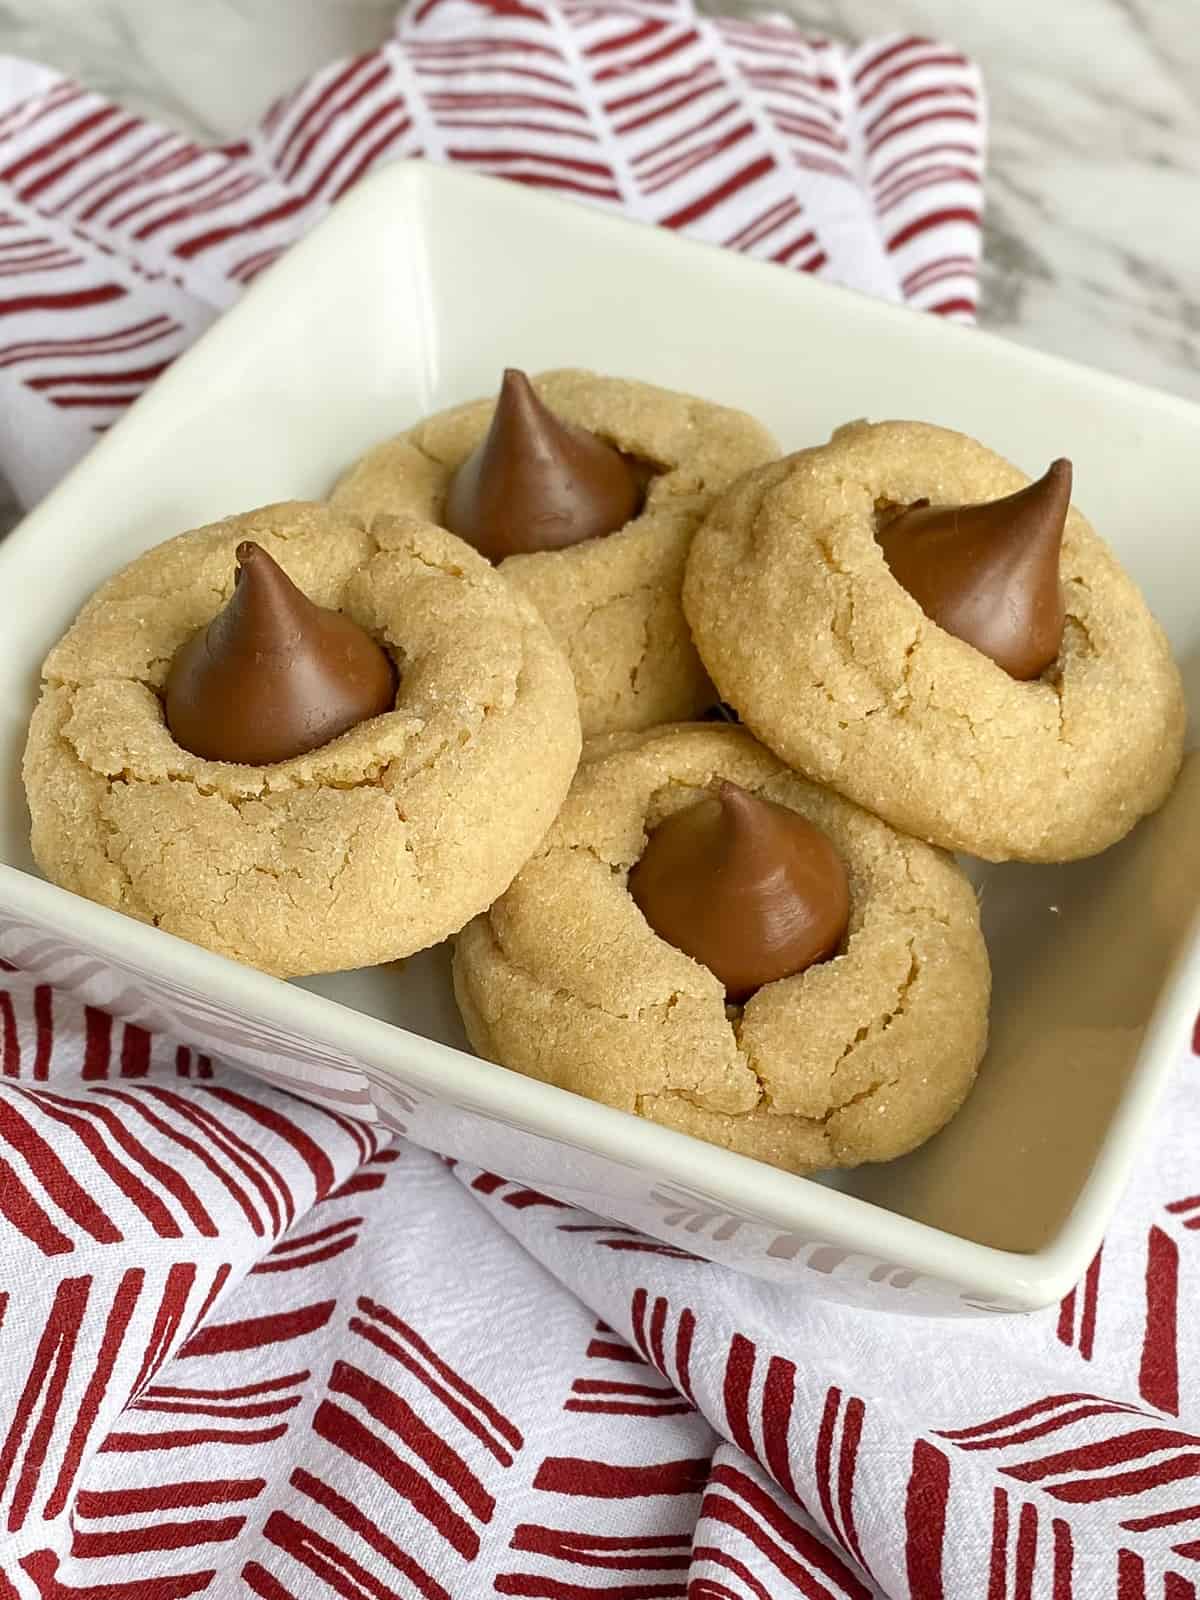
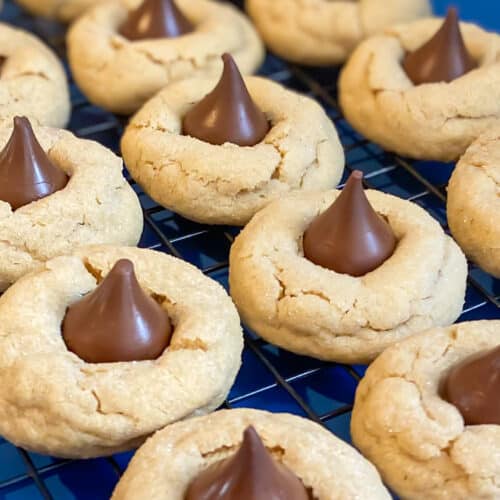
These classic Peanut Butter Blossom Cookies are deliciously tasty treats that are easy to make and yummy to eat. You’ll love the creaminess of the peanut butter with the rich chocolate top. Perfect for your next cookie exchange or devour for dessert!
Classic cookie
I love the way Peanut Butter Blossom Cookies look! They are always a staple in Christmas cookie exchanges because they look just as good as they taste. But they used to intimidate me a little until I made this recipe. It’s classic and EASY! Trust me, I’ll explain (maybe even over-explain) just how to make them so you’ll be devouring these goodies in no time.
How to make it
These cookies are easy and enjoyable to make. All you have to do this:
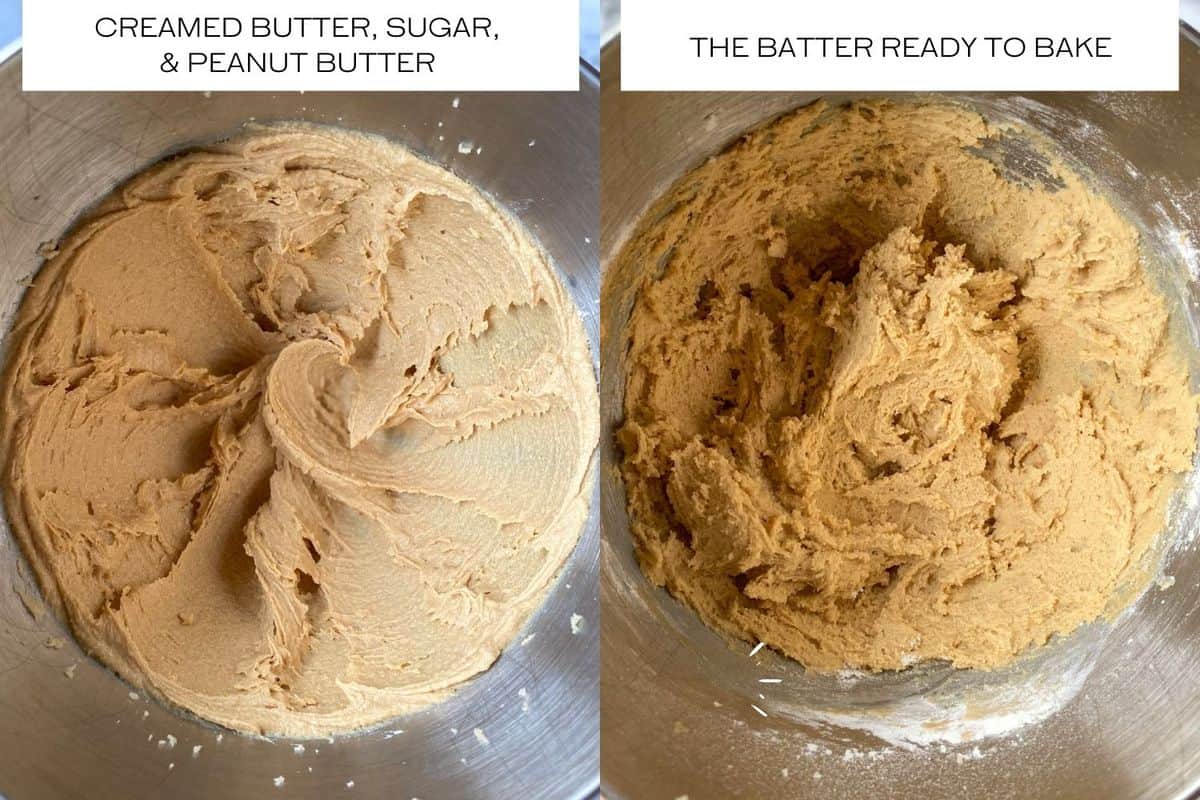
Cream the butter and sugars– in a mixer or large bowl, cream butter and sugars. I like to cream them in my stand mixer for about 5 minutes until it turns almost white and fluffy. This helps make the cookies a lot more fluffy since it adds more air and stability to the batter.
Add wet ingredients– mix in peanut butter until smooth and creamy. Now add eggs one at a time a then vanilla extract until it’s all combined together. No need to beat this on high. Just low and slow to make it all bond together.
Add dry ingredients– add in the flour, baking soda, and salt separately and mix on a low speed. Once it’s all combined, it’s ready to roll into sugar.
Cover in sugar– take 1 tbsp size ball of dough in your hands and roll it around in the sugar until completely coated. I do this lightly so that my hands don’t get too sticky. If you’re having trouble with this, try refrigerating the dough for about half an hour to get it a little more firm. It didn’t seem to affect the overall appearance or cook time but you may need to modify if necessary. Place the sugar-coated cookie dough on a baking sheet approximately 2 inches apart.
Bake the dough– once in the oven, bake for approximately 8-12 minutes. Since every oven cooks differently, I highly recommend checking them at the 8-minute mark first. You’ll see a little bit of golden brown around the edges. Make sure the center looks fairly firm and not too wiggly.
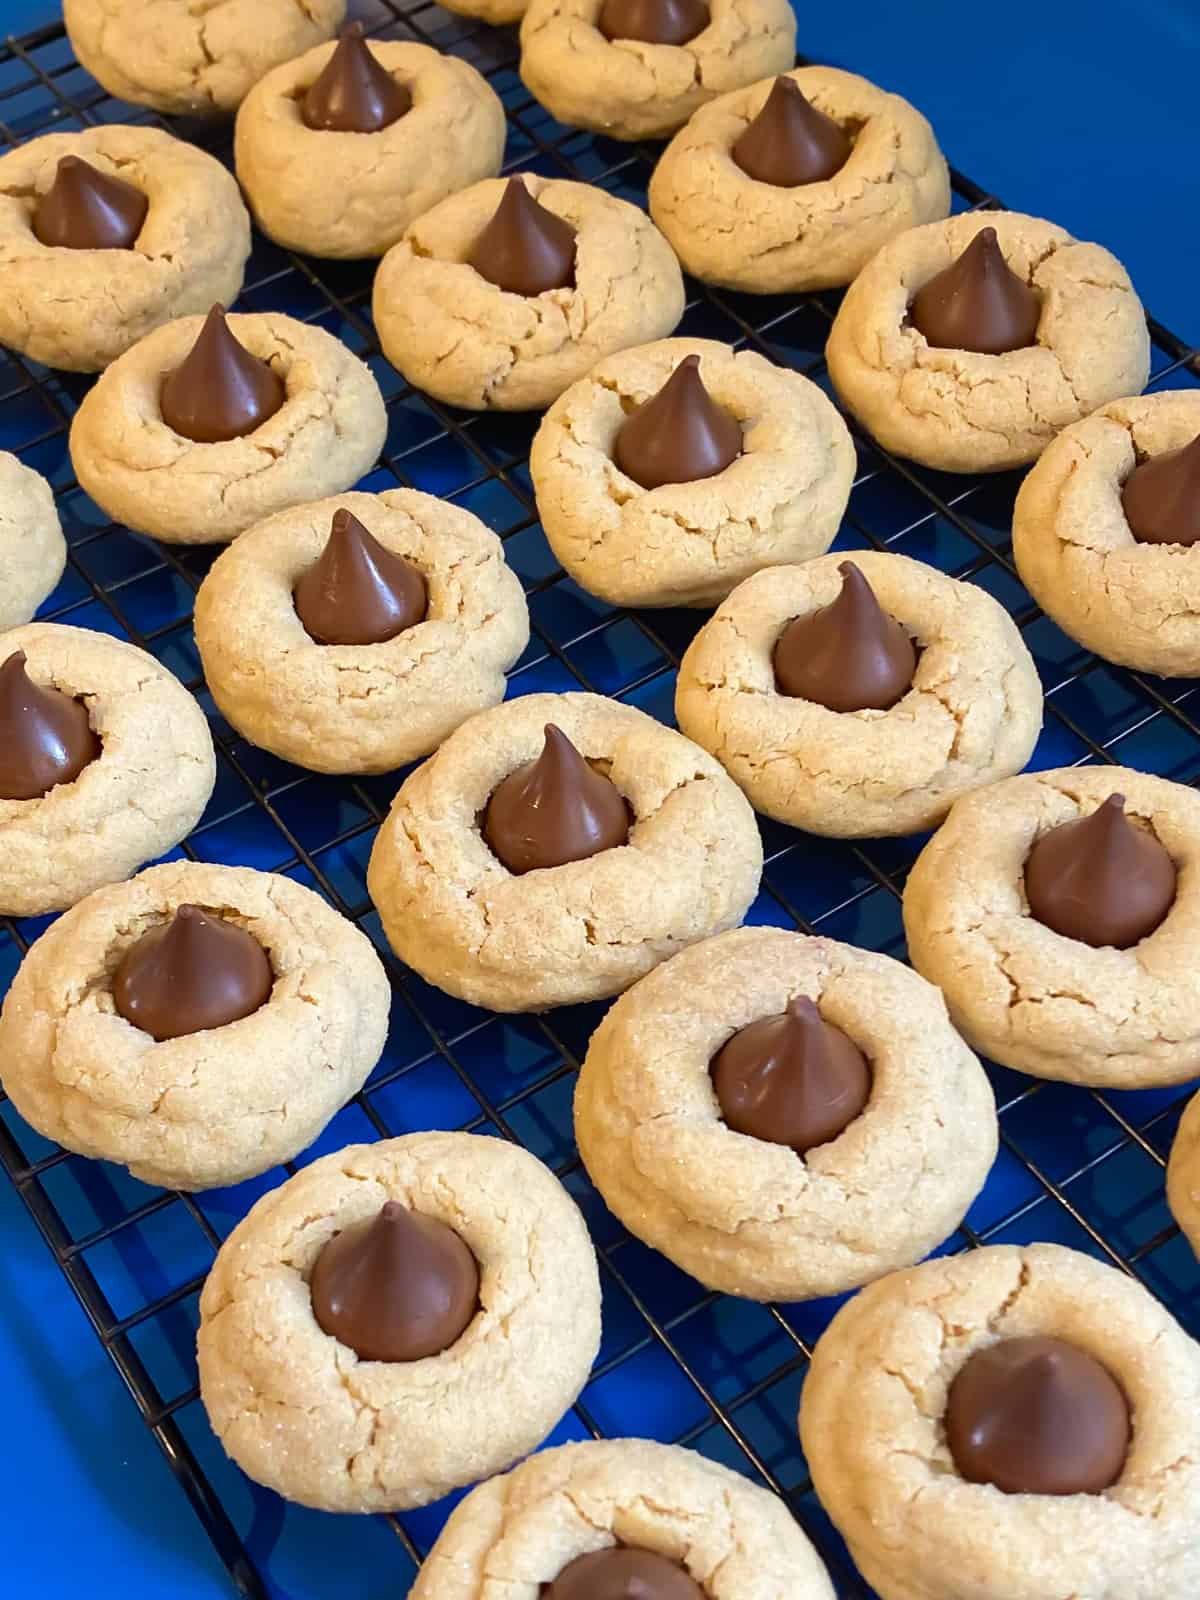
Add a kiss– as soon as you take them out of the oven, top them with a Hershey’s Kiss. This is very important. There are only a few minutes before the cookies start to harden and it becomes difficult to do this. But when you do it right out of the oven, the kiss will almost “puff” down into the cookie easily.
Enjoy– remove cookies from the cookie sheet and place them on a cooling rack. My tip for removing cookies is to take a spatula and quickly and swiftly scoop underneath them and pick them up. If you go slowly, the cookies will break or change shape a bit. Enjoy!
*See the recipe card at the bottom of the page for printed instructions.
Ingredients
Butter: I prefer salted in my cookies. I made the mistake one time of using unsalted and to me, they tasted so bland. I still added some salt but somehow the salted butter gives it the best balance in cookies. However, you absolutely may use unsalted if you prefer.
White granulated sugar
Brown sugar: light or dark brown sugar could be used.
Egg
Vanilla extract
Milk: skim, 2% or whole seem to work the same.
All-purpose flour
Baking soda
Salt
Hershey’s Kisses
Budget/time-saving ideas
Here are a couple of ways to save time or money:
- Butter can be frozen! Try to buy it when it’s on sale so you always have it on hand. Just pull out what you need and put it in the refrigerator the night before so it will thaw out.
- Buy Hershey’s Kisses right after a holiday such as Easter or Valentine’s Day. They’re often marked down up to half off and have a shelf life of 11 months so you can use them whenever you’re ready.
Are peanut butter blossoms freezer-friendly?
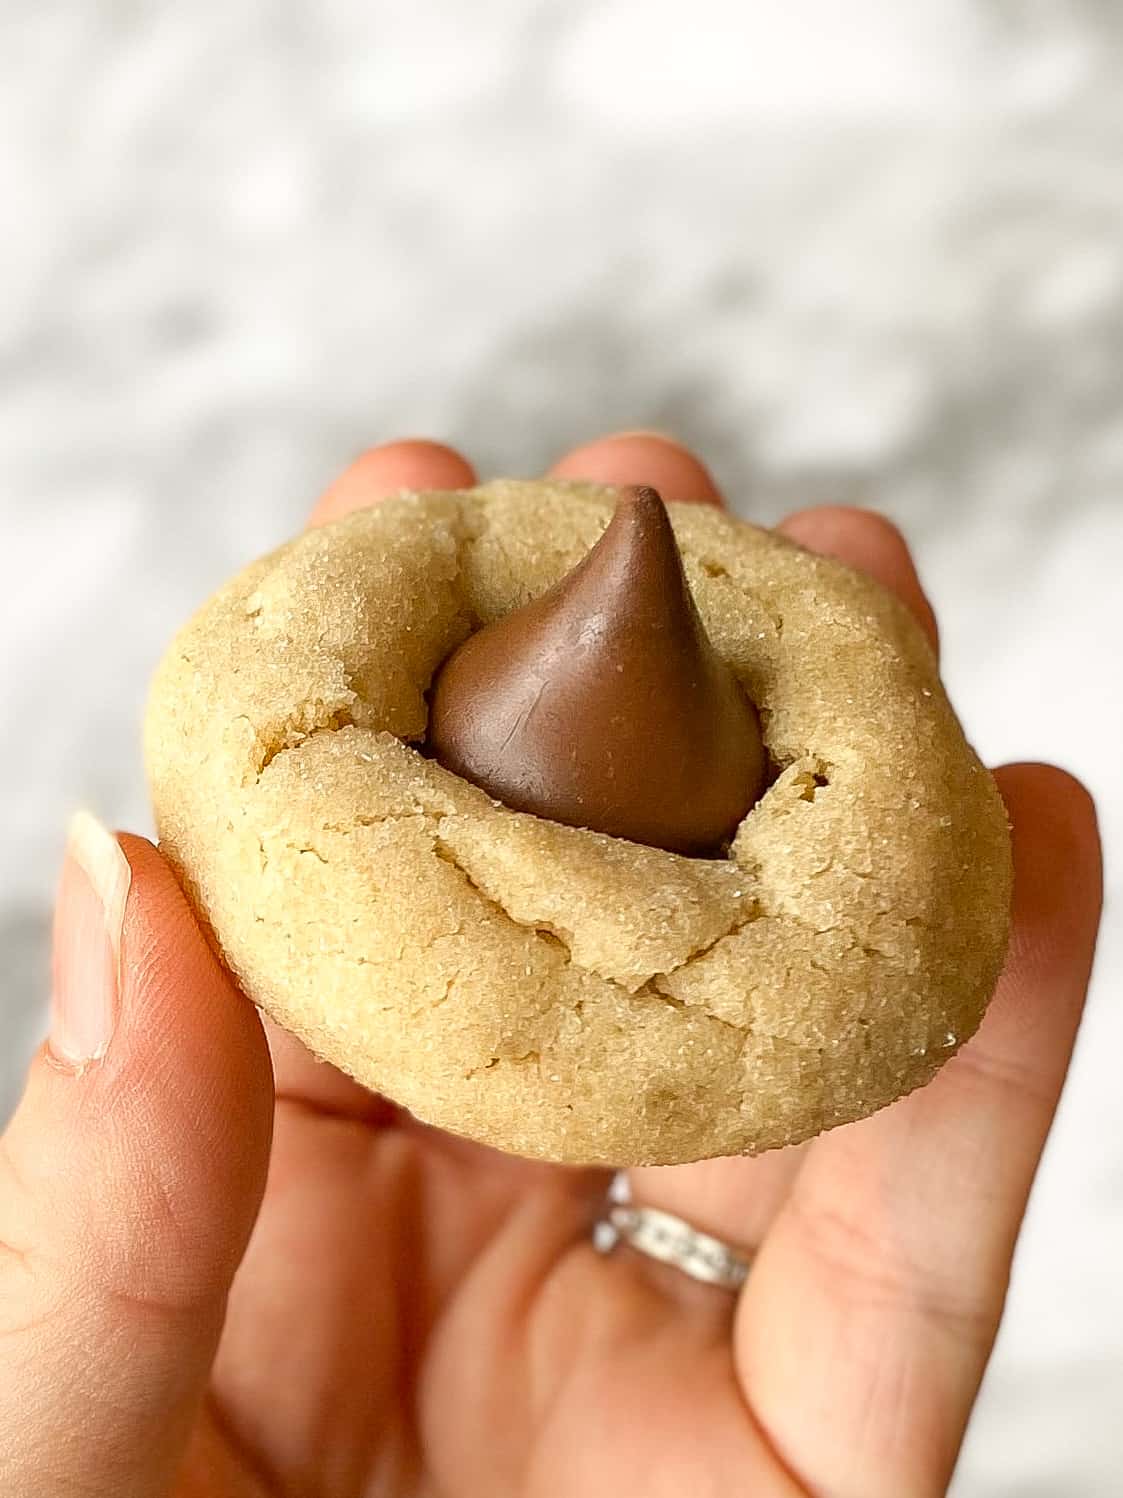
These cookies are freezer friendly! All you need to do is put them in a freezer-safe container or double-wrap them in 2 ziplock bags. I say this because less air = less chance for freezer burn. When you’re ready to eat, pull them out of the freezer and allow them to thaw at room temperature. Try not to open them until they are completely thawed to help them stay nice and moist.
- White Chocolate Chip Cranberry Sugar Cookies– these soft, chewy, and thick cookies are filled with sweet cranberries and white chocolate chips in every bite.
- Peanut Butter Oatmeal Chocolate Chip Cookies– deliciously soft, chewy, moist, thick, and so tasty!
- Peanut Butter Pretzel M&M Cookies– are bursting with flavor from the sweetness of the chocolate pieces, crunch from the pretzels, and full of rich peanut butter throughout the cookie.
Peanut Butter Blossom Cookies
Ingredients
- 1/2 cup butter
- 1/2 cup white granulated sugar
- 1/2 cup light brown sugar
- 1/2 cup peanut butter creamy
- 1 egg
- 1 tsp vanilla extract
- 2 tbsp milk
- 1-3/4 cups all-purpose flour
- 1 tsp baking soda
- 1/2 tsp salt
- 1/4 cup white granulated sugar for decoration
- 9 oz bag Hershey's Kisses
Instructions
- Preheat oven to 350 degrees. Line with parchment paper or grease cookie sheet.
- In a large bowl or stand mixer, cream together butter, white and brown sugars until light and fluffy. Mix in peanut butter. Beat in egg. Stir in vanilla extract and milk until combined.
- In a separate bowl, mix flour, baking soda, and salt. Add into the peanut butter mixture and combine until well blended.
- Gently shape batter into 1 tbsp sized balls and roll into 1/4 cup white sugar until coated. Place on prepared cookie sheet approximately 2 inches apart.
- Bake for approximately 8-10 minutes or until the bottom of the cookies are slightly browned. Remove from oven and immediately press a Hershey's Kiss in the center of each cookie. Allow to cool for a few minutes before moving cookies to a cooling rack. The chocolate will harden as it cools. Eat and enjoy!


Peanut butter blossoms are probably my favorite Christmas cookie! These look absolutely perfect! Thank you for sharing 🙂
10 mins. was not long enough. Baked them for almost 20 mins. before turning brownish
I am so sorry they didn’t bake well for you. I do notice that oven times and temperatures vary but I wouldn’t recommend cooking them longer than 13 minutes. They are finished when they turn slightly golden around the edges. Then remove them from the oven and leave them on the baking sheet for 5-7 minutes to finish cooking if you think they look a little underdone in the center.
I doubled the recipe and the cookies came out flat and really surgery. I let the butter and eggs come to room temp. Any tips?
Oh no I’m so sorry! A couple of ideas- use baking soda that is less than 6 months old because it expires quickly. If you double the flour, it should be 2-1/2 cups (the recipe card can be confusing). You can also chill the dough for about an hour before baking to help keep its shape. Hopefully that helps!
Perfect! Just made a second batch within one week per family demand!!
So happy you all enjoyed them!