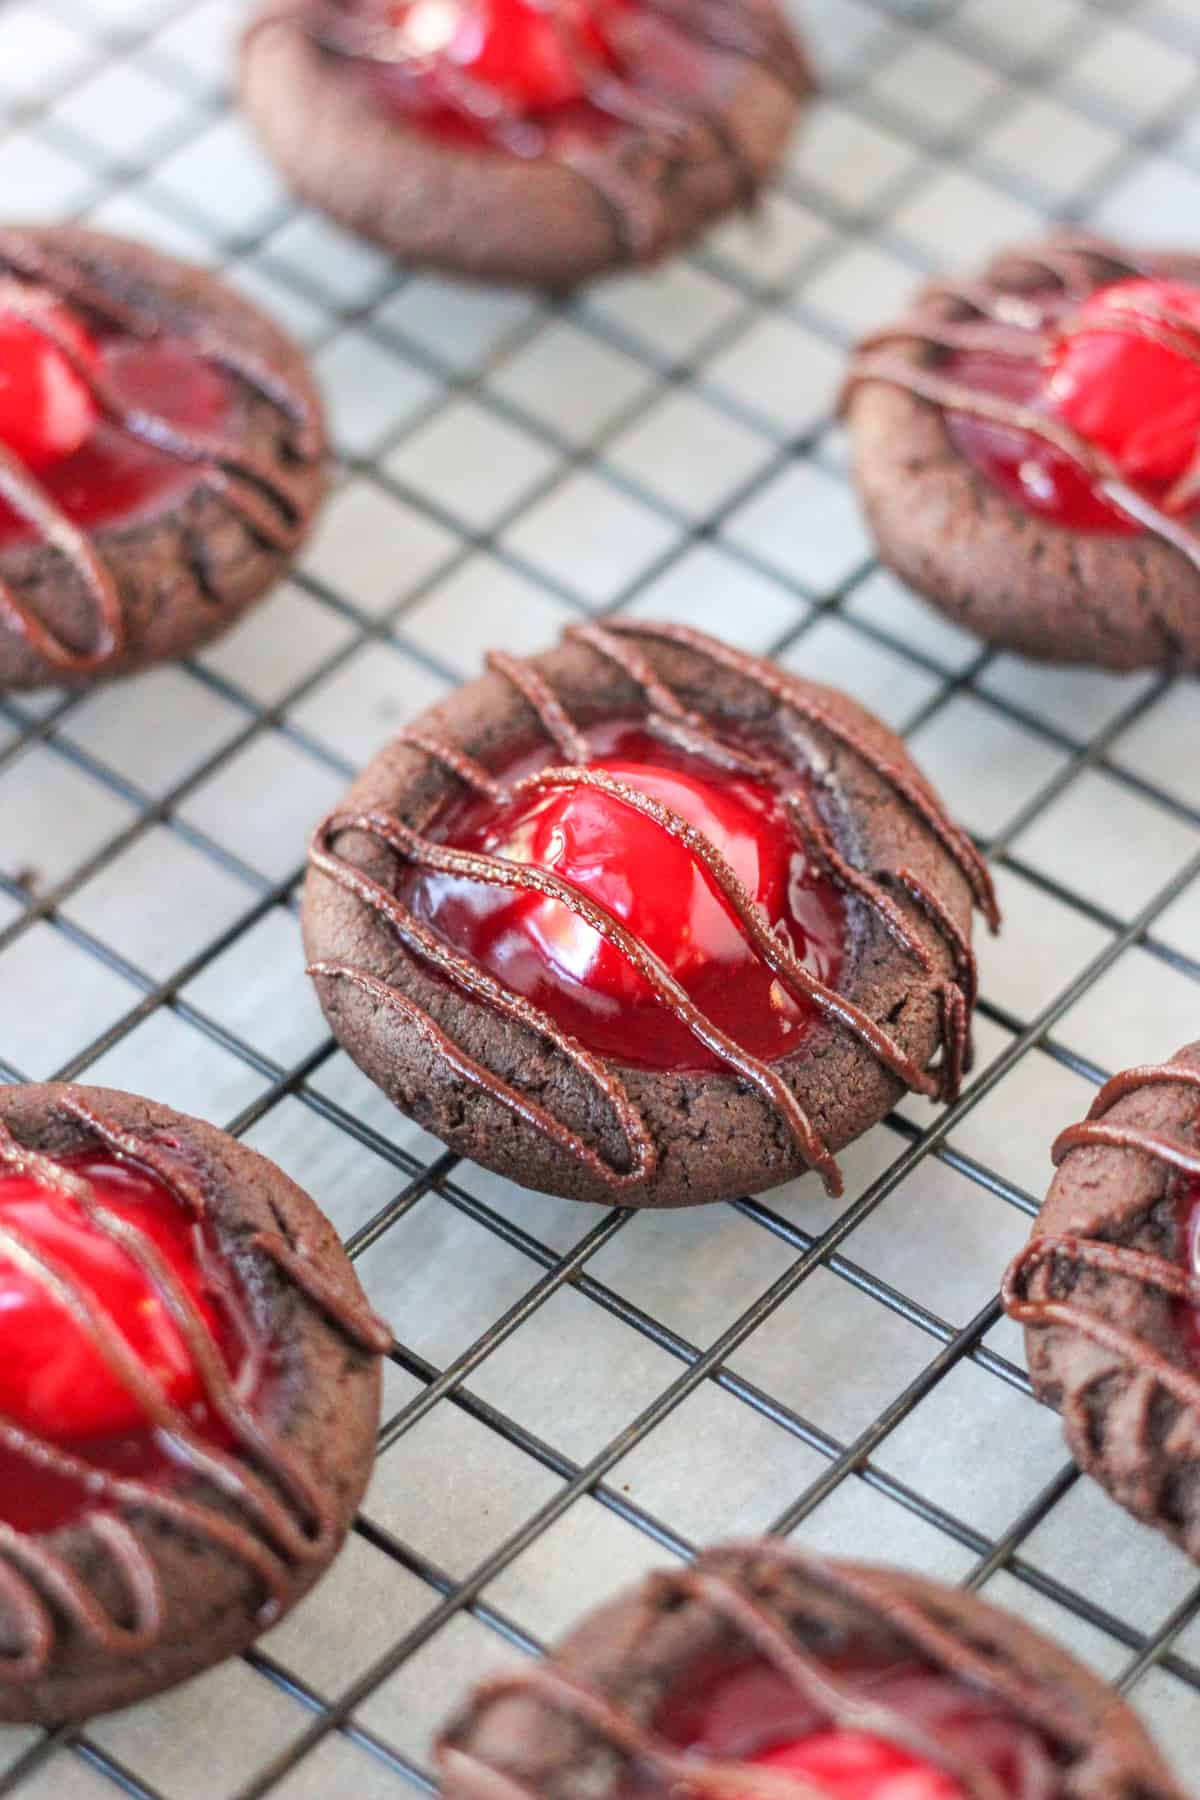
Chocolate Cherry Thumbprint Cookies
These Chocolate Cherry Thumbprint Cookies are a delicious twist on a classic recipe made with chocolate dough, filled with cherry pie filling, and more chocolate drizzle on top. Perfect for a cookie exchange, holiday treat, or an anytime sweet dessert!
Easy Chocolate Cherry Cookies
Thumbprint cookies are classic cookies that are such an enjoyable dessert, especially during the holidays! Combining fruit and a cookie together is such a perfect pair. So why not switch them up with some chocolate? These Chocolate Cherry Thumbprint Cookies have an incredible flavor with a soft chocolate cookie batter, rolled and then indented with a thumbprint, then filled with a sweet cherry pie filling, and topped off with a drizzle of chocolate. Not only do they taste amazing but they are a beautiful cookie too! These will definitely be a crowd favorite at your next cookie exchange or Christmas party!
Why You Will Love This Recipe
Flavorful! Bursting with rich chocolate and a sweet cherry center.
Easy! Just a few simple steps and a handful of ingredients are needed.
Show Stopper! They are not only delicious but are bright and colorful!

Ingredients
- Butter– I use lightly salted butter in almost all of my dishes. I enjoy the flavor that salt brings out of sweet dishes. However, feel free to use unsalted if you prefer.
- White and brown sugar– This combination seems to help bring a balance of slightly chewy and softness to the cookie.
- Egg
- Vanilla extract
- All-purpose flour
- Unsweetened cocoa powder– this brings a deep chocolate flavor to the cookie. The better the cocoa, the better the taste.
- Baking soda
- Baking powder
- Salt
- Cherry pie filling– I used store-bought pie filling for the pictures in this recipe. It has a nice thick glaze that holds up well when baking. It also makes this so easy to put together. You can use a homemade filling if you prefer.
How To Make Thumbprint Cookies
- Combine Wet Ingredients: Cream the butter, brown sugar, and granulated sugar together in a medium bowl. I like to mix until the butter starts to turn almost white in appearance so that there are plenty of air pockets- maybe around 6-7 minutes. It doesn’t seem like this is an important step, but it helps the cookies have a good texture and appearance. Add in the egg and vanilla until combined.
- Add the Dry Ingredients: Add the flour, unsweetened cocoa powder, baking soda, baking powder, and salt together in a medium bowl to the wet ingredients and mix until just combined. The batter will be thick.
- Make cookie balls – Scoop the batter using a cookie scoop or one heaping tablespoonful into your hands and roll it into a ball. Place the balls on a cookie sheet lined with parchment paper. I highly recommend using parchment paper for even cooking and easy clean-up.
- Add the topping– Indent the cookie dough with your thumbprint two times making a cross. This will help make the hole large enough for the cherries to fit inside. Fill the hole with one cherry and pie filling, around 1 teaspoon.
- Bake and cool– Bake for 8-10 minutes or until cooked through. Chocolate cookies are a little harder to determine when they are cooked. Look for any shiny uncooked parts. If you see it, return it to the oven and bake an additional minute, and check again. But be sure not to cook too long so it doesn’t burn. Cool for 5 minutes on the baking sheet before removing to a cooling rack to finish cooling.
- Drizzle with chocolate– Melt chocolate and butter in a double boiler or microwave on 50% heat. Be sure not to over-heat or the chocolate will separate and become grainy. Drizzle the chocolate over completely cooled cookies. Enjoy!


Storage Options
These cookies are great make-ahead desserts since they are best stored at room temperature in an air-tight container for up to 3 days. To freeze the cookies, flash-freeze them first by placing cookies on a baking sheet in an even row and freezing them for around 2 hours until the pie filling is firm. Then place the cookies in an air-tight container or a freezer bag and freeze for up to 1 month.
Frequently Asked Questions
Store-bought or homemade cherry pie filling can be used in these cookies. Just be sure there is plenty of thick pie filling so that the cherry has something to rest on and does not absorb into the cookie dough.
The short answer is no. However, you will find that the cookies hold their shape a little better if the dough is chilled a few hours before baking. But these cookies have been made several times without chilling beforehand with much success.
Yes! Thumbprint cookie dough freezes very well. It can be indented with the thumbprint before or after freezing. Flash freeze on a cookie sheet until each ball is firm before storing in an air-tight container.

Helpful Tips
Try Parchment Paper: Line the sheet pan with parchment paper to help make cleanup easier.
Make-ahead Idea: Make the cookie dough ahead of time, roll it into balls, and freeze it to make the cookies later. Just thaw to room temperature before adding the pie filling and baking.
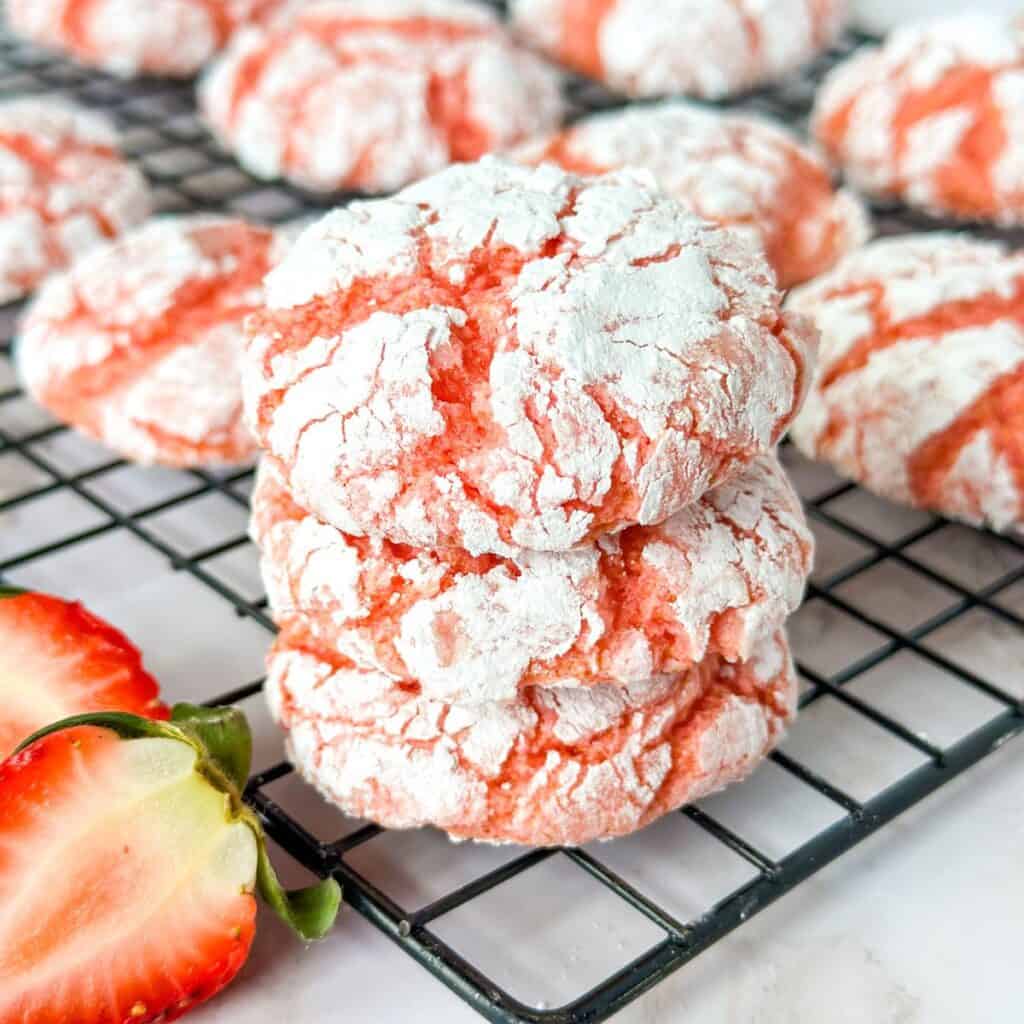
Swap Fruit Fillings: Don’t like cherries? Swap this out for Strawberry Pie Filling instead
More Cookie Recipes

Did you try this recipe? If so, please leave a ⭐ review below and tag me @whiskfulcooking on Instagram, Facebook, Pinterest, and YouTube!
Chocolate Cherry Thumbprint Cookies
Ingredients
- 1/2 cup butter softened
- 3/4 cups white granulated sugar
- 1/4 cup brown sugar
- 1 egg
- 1 tsp vanilla extract
- 1 1/2 cups all-purpose flour
- 1/2 cup unsweetened cocoa powder
- 1/2 teaspoon baking soda
- 1/2 teaspoon baking powder
- 1/4 teaspoon salt
- 21 ounces cherry pie filling
Glaze (optional)
- 1 cup semi-sweet chocolate chips
- 2 tablespoons butter
Instructions
- Preheat the oven to 350 degrees Fahrenheit.
- In a large bowl, cream together butter and sugars until light and fluffy. Mix in egg and vanilla.
- In a separate bowl, whisk together flour, cocoa powder, baking soda, baking powder, and salt. Add the dry ingredients to wet ingredients and mix until blended.
- Scoop dough using a tablespoon or cookie scoop and roll into balls around 1 inch in diameter. Place on ungreased or parchment paper-lined cookie sheet. Using your thumb, press down in the center of the ball to make an indentation. Add one cherry and pie filling to fill each of the indentations on the cookie dough.
- Bake for 8-9 minutes or until the cookie is just cooked through. Allow to cool on a cookie sheet for 5 minutes before removing to a cooling rack to finish cooling.
Glaze (optional)
- Melt chocolate chips and butter in a double boiler or microwave on low power. Be careful not to overcook or the chocolate will harden too quickly. Drizzle over each cooled cookie. Enjoy!


They look like some good looking cookies! I will definitely try them out for the holidays this year. I wonder how they would turn out doing them with gluten-free flour? Definitely going to check out some of your other recipes.
Great! I have never tried it with gluten-free flour but let me know if you do and how it turns out!
Ohhh…. these look lovely! Any idea if modifying these to vegan (flax egg and vegan butter) would work? Looks like it could be successful.
Thank you! I have never tried it with vegan ingredients but let me know if you do and how it turns out!
I am wanting to double this recipe. It seems all the ingredients are doubled except for the flour, is that a typo? How much flour to go in this to double this recipe?
It would be 3 cups of flour if you doubled it. Sorry, I am not sure why it did not automatically double correctly on the recipe card.
Made these and they’re delicious! I had about a half cup leftover of a can of cherry pie filling, and this recipe was perfect, since you only need 24 cherries! I baked mine for 9 minutes and they still had a somewhat soft underbaked middle, which is perfect if you ask me, since I was making these because I couldn’t make brownies, ha! Just a note, the adding of the cocoa powder appears to be omitted in the recipe card, so I had to check the preamble to confirm when it got added.
I am so glad you liked them! Updated the recipe card- thanks for the heads up!